Add to the appeal of your polished and final animation
Appeal lies largely in the realm of how accomplished your acting choices, animation and character design are. However, the character look and feel impacts the character design, and as such, appeal as well.
Appeal (as condensed from the Illusion of Life by wikipedia)
Appeal in a cartoon character corresponds to what would be called charisma in an actor.[35] A character who is appealing is not necessarily sympathetic — villains or monsters can also be appealing — the important thing is that the viewer feels the character is real and interesting.[35] There are several tricks for making a character connect better with the audience; for likable characters a symmetrical or particularly baby-like face tends to be effective.[36]
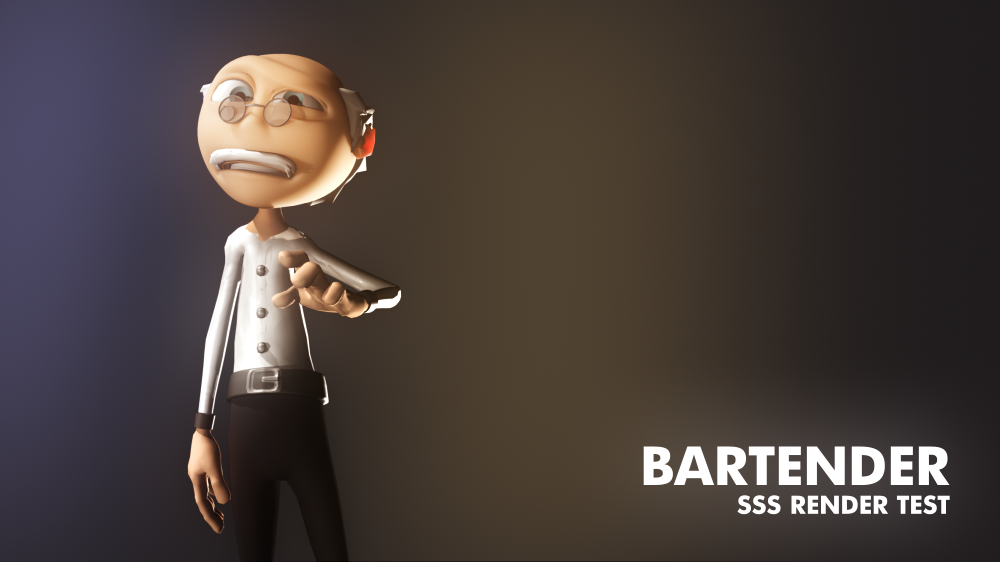
Sub-surface scattering is a type of shader that will transmit the light in your scene through your characters’ geometry in a realistic fashion. The end result is a character that feels more ‘real’ or ‘grounded’ in the scene in that they are reacting to light in a way audiences are familiar with from life.


BUT….
Don’t think for a minute that any of this actually improves your animation. Actually you have to be VERY CAREFUL this doesn’t make your animation worse, by taking time away from time spent actually….animating. Seeing your work rendered in a gorgeous manner can lull you into a false sense of ‘completion’ as well, and I highly recommend you work entirely with playblasts until the very end….then wait a couple months….make some changes….then render.
If you need convincing, check out this rough Milt Kahl pencil test. He doesn’t ‘need’ the inked version, the shot is working really well on it own. Keep these pencil tests in mind when you’re about to spend time rendering, lighting and compositing.
http://bradkinley.com/clips_newsite/Exercises/AM_BK_SSS_MiltKhal_Pencil.mov
That all said, I do think that a well lit and ‘real’ feeling character can increase the appeal of your shot!
Enough Preaching. Details.
I’ve been using SSS for several years and I find the best way to learn is to tear a scene apart, so that’s what I’m going to provide! A sample scene below just needs ‘render’ to be hit. Inside it is a light panel that you can bring into other scenes and use, and a SSS shader that can be exported from the hypershade and reused.
These are Maya 2012 versions. YMMV.
Example Scene:
http://bradkinley.com/clips_newsite/Exercises/AM_BK_SSS_ShaderExample.mb
Technical Stills
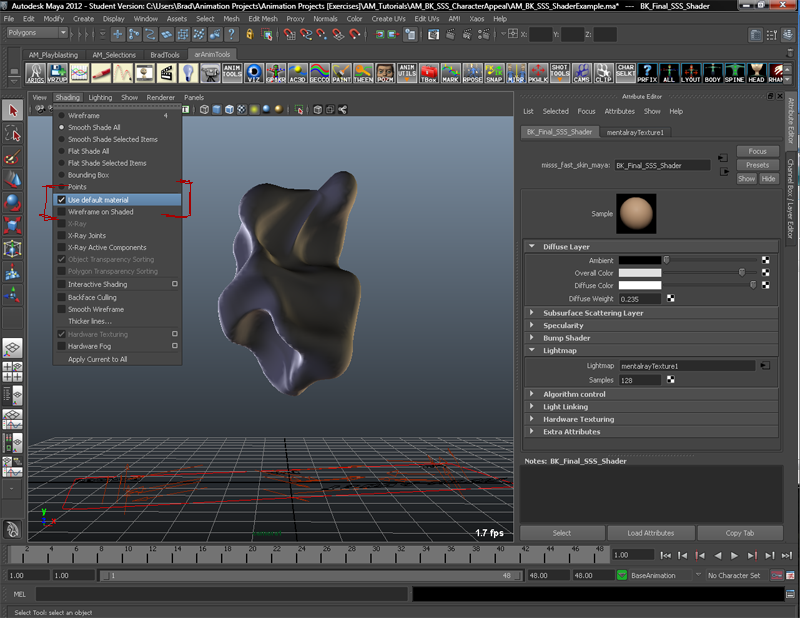
Change the viewport settings to ‘Default material’ while you are roughly dialing in your lights.
The MR SSS shader will be red, green or pink which can make it hard to judge early lighting in the viewport.
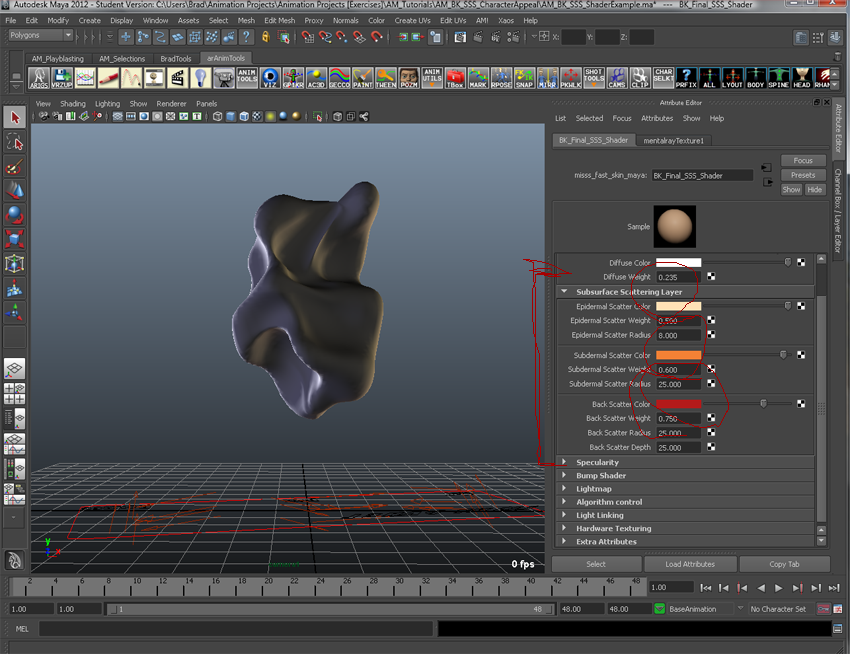
These colors dictate the skin tone, and the change in color as the light penetrates the geometry.


